|
1951 Chevy Accessories Installation Manual |
|||
 |
|||
|
|
|||
|
Figure 47 |
|||
|
|
|||
|
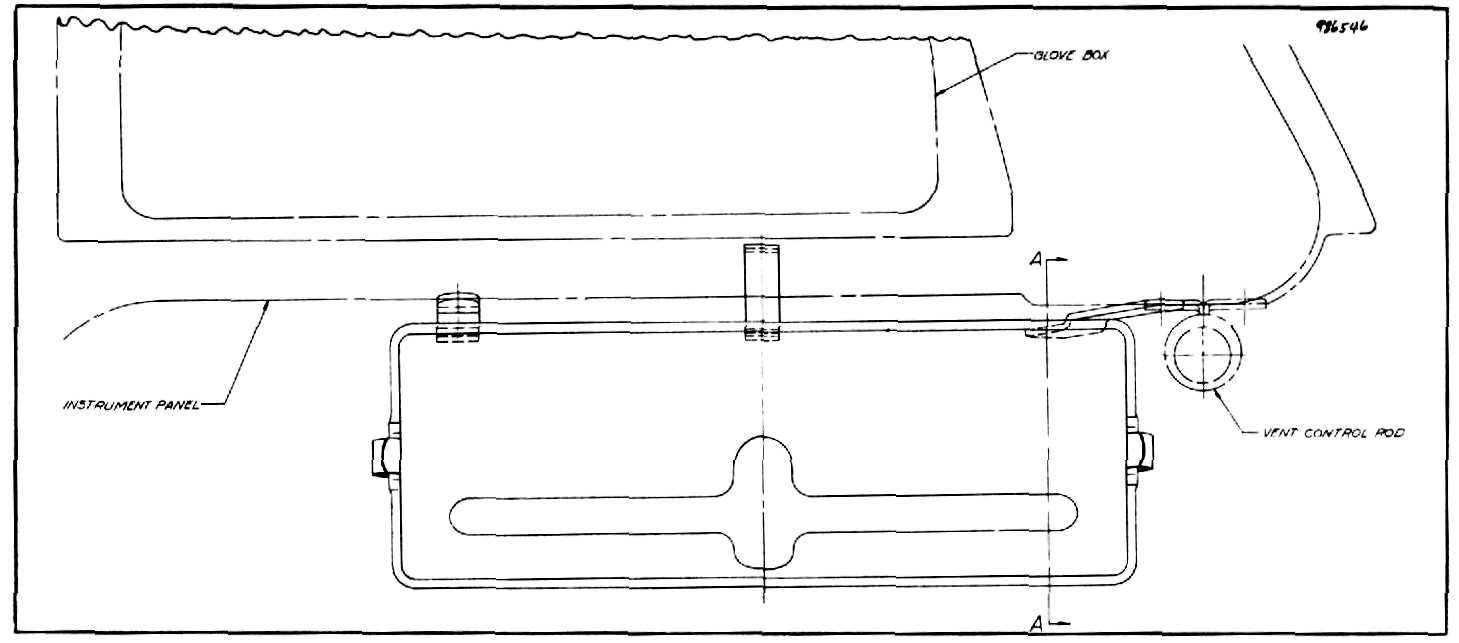
4. Move and align dispenser so that it appears
in position as shown in figure
48.
5. With left-hand bracket of tissue dispenser
as a template drill 167/169
diameter hole in lower flange
of instrument panel.
6. Fasten left-hand bracket with screw
furnished.
7. With tissue dispenser mounted proceed
underneath to center
support bracket of tissue dispenser, (see figure 49).
8. Using hole in center support bracket as a
guide take a sharp object and
pierce through cardboard of
glove box. |
9. Place "U" type anchor nut over end of
center support bracket.
Make sure anchor nut is aligned with hole in bracket, (figure
49).
10. Open glove box door and take screw and
plain washer furnished and put
through hole that was pierced through cardboard of glove box.
11. After making sure screw is aligned to go
into anchor nut mounted on
center support bracket of tissue dispenser, take a short screw driver and tighten securely from
inside of glove box,
(figure 49). |
||
|
|
|||
 |
|||
|
|
|||
|
Figure 48 |
|||
|
|
|||
|
18 |
|||
|
|
|||